How to Flush a Toilet Without a Handle (Emergency Bucket Method)
Master Plumber & Heating Team
Licensed Alaska Mechanical Contractor · Anchorage, Alaska
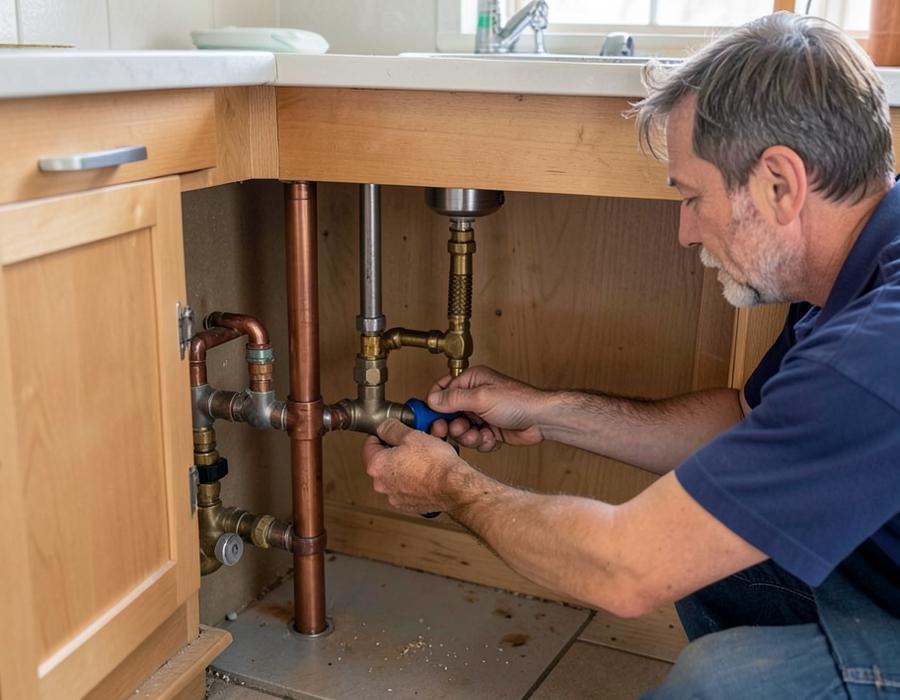
To flush a toilet without a handle, lift the ceramic tank lid and manually pull the rubber flapper chain upward with your hand to let tank water rush into the bowl. Alternatively, fill a bucket with 1.5 to 2 gallons of water and dump it quickly and directly into the center of the toilet bowl to trigger natural siphon action.
Key Takeaways at a Glance
- Water inside a clean toilet tank is clean potable water; pulling the rubber flapper by hand is safe and instant.
- The Bucket Pour Flush requires dumping water briskly into the bowl; slow pouring will only fill the bowl without siphoning.
- Toilet flush handles break when cheap plastic trip levers corrode or the internal nut (reverse-threaded) loosens.
- Replacement universal toilet handles cost under $10 and install in 3 minutes with an adjustable wrench.
Understanding How to Flush a Toilet Without a Handle
Essential Principles of Plumbing Repair
To flush a toilet without a handle, lift the ceramic tank lid and manually pull the rubber flapper chain upward with your hand to let tank water rush into the bowl. Alternatively, fill a bucket with 1.5 to 2 gallons of water and dump it quickly and directly into the center of the toilet bowl to trigger natural siphon action.
Whether tackling routine home maintenance or managing complex commercial installations, understanding the core mechanical and thermodynamic principles behind how to flush a toilet without a handle (emergency bucket method) prevents costly property damage, repeated callbacks, and premature component failure.
In colder regions like Southcentral Alaska, temperature fluctuations, deep soil frost lines, and municipal vs. private well dynamics introduce unique stresses that demand strict adherence to code standards and proper material selection.
Step-by-Step Diagnostic & Best Practices Procedure
Field-Tested Methodology
Follow this sequential checklist used by licensed plumbing and heating professionals to ensure safe execution, accurate diagnostics, and leak-free operation:
Preparation & System Inspection
Visually examine the surrounding piping, connections, and electrical wiring for signs of corrosion, stress cracking, thermal discoloration, or slow seepage.
Proper Tool & Component Selection
Ensure replacement fittings, sealants, gaskets, or diagnostic meters meet ASME, ANSI, and local UPC/IPC plumbing standards for your specific application.
Methodical Execution & Tightening
Follow manufacturer torque specifications. Avoid over-tightening threaded brass or plastic components, which induces hairline hoop fractures over time.
Pressure Testing & Observation
Slowly restore pressure, purge trapped air from the lines, and monitor the assembly under static and active dynamic flow for a minimum of 15 minutes.
| Evaluation Metric | Standard Recommended Value | Warning Sign | Corrective Action |
|---|---|---|---|
| Operating Pressure | 45 - 65 PSI | > 80 PSI or < 30 PSI | Adjust PRV or install booster pump |
| Material Compatibility | Lead-free brass, copper, Uponor PEX | Mixed dissimilar metals without dielectric | Install dielectric unions or brass transitions |
| Thread Sealing | 3-5 wraps PTFE tape + paste dope | Dry threads or over-taped straight threads | Re-wrap clockwise on tapered NPT only |
| Thermal Protection | R-10 pipe insulation + self-regulating heat trace | Exposed uninsulated pipe in cold spaces | Insulate and seal drafty crawlspace penetrations |
Code Compliance & Environmental Safety Guidelines
Avoiding Common Pitfalls & Inspection Failures
Plumbing systems are strictly regulated under municipal and national codes (such as the Uniform Plumbing Code, International Residential Code, and Alaska Administrative Code) for good reason: improper installations create severe cross-contamination, sewer gas migration, and catastrophic flood risks.
Always check for local municipal amendments before undertaking structural modifications to floor joists, expanding septic absorption beds, or altering gas piping.
Calculate Your Numbers Directly
Need Hands-On Help From a Licensed Plumber?
Frequently Asked Questions (PAA)
Talk With a Local Plumber
Serving the Municipality of Anchorage, Mat-Su, and surrounding Alaskan communities.
Sub-Zero Emergency?
Frozen water lines, burst pipes, and lost heat require rapid response to avoid severe water and structure damage.
Call (877) 570-8952Serving Anchorage & Mat-Su Communities
Need Professional Help?
Fast, Reliable Heating & Plumbing Across Anchorage & Mat-Su
Our licensed Alaskan technicians are on standby 24/7 for emergency repairs, installations, and seasonal maintenance.