How to Solder Copper Pipes: A Complete Guide
Professional Techniques for Leak-Free Plumbing Connections
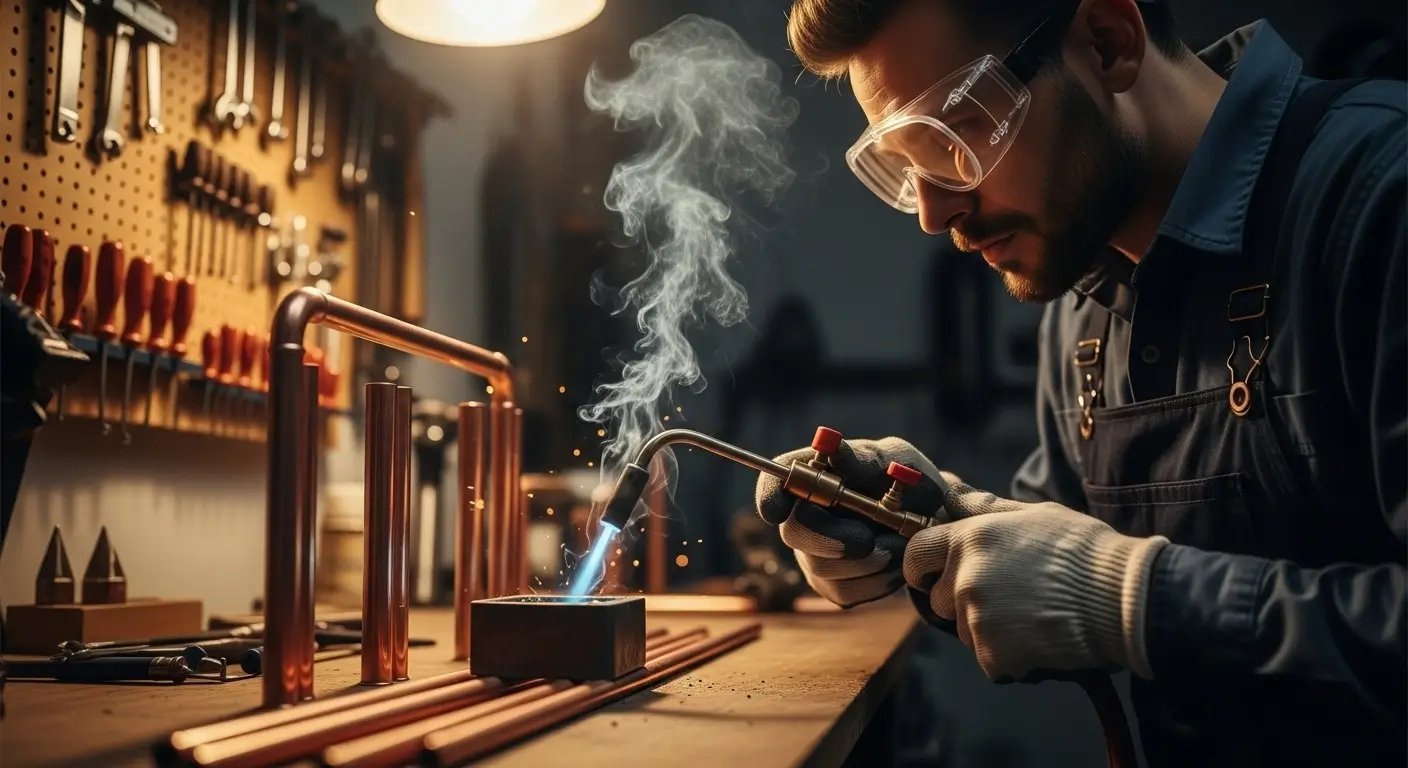
Soldering copper pipes, often referred to as “sweating copper pipes,” is a fundamental skill for DIYers and homeowners tackling home plumbing projects. When done correctly, this copper pipe joining technique ensures a watertight, durable connection for your water supply lines and other plumbing systems. However, improper plumbing soldering can lead to frustrating leaks, weak joints, and even significant water damage.

At 907 Heating and Plumbing, we’ve handled countless copper pipe installation and repairing leaky copper pipes jobs. In this comprehensive guide, we’ll walk you through the proper way to solder copper pipes safely and effectively. Whether you’re a beginner learning how to sweat a copper joint or looking to refine your skills, this soldering copper pipe tutorial will equip you. If you’re unsure or need professional help for complex plumbing repairs or whole-house repiping, our licensed plumbers are just a call away!
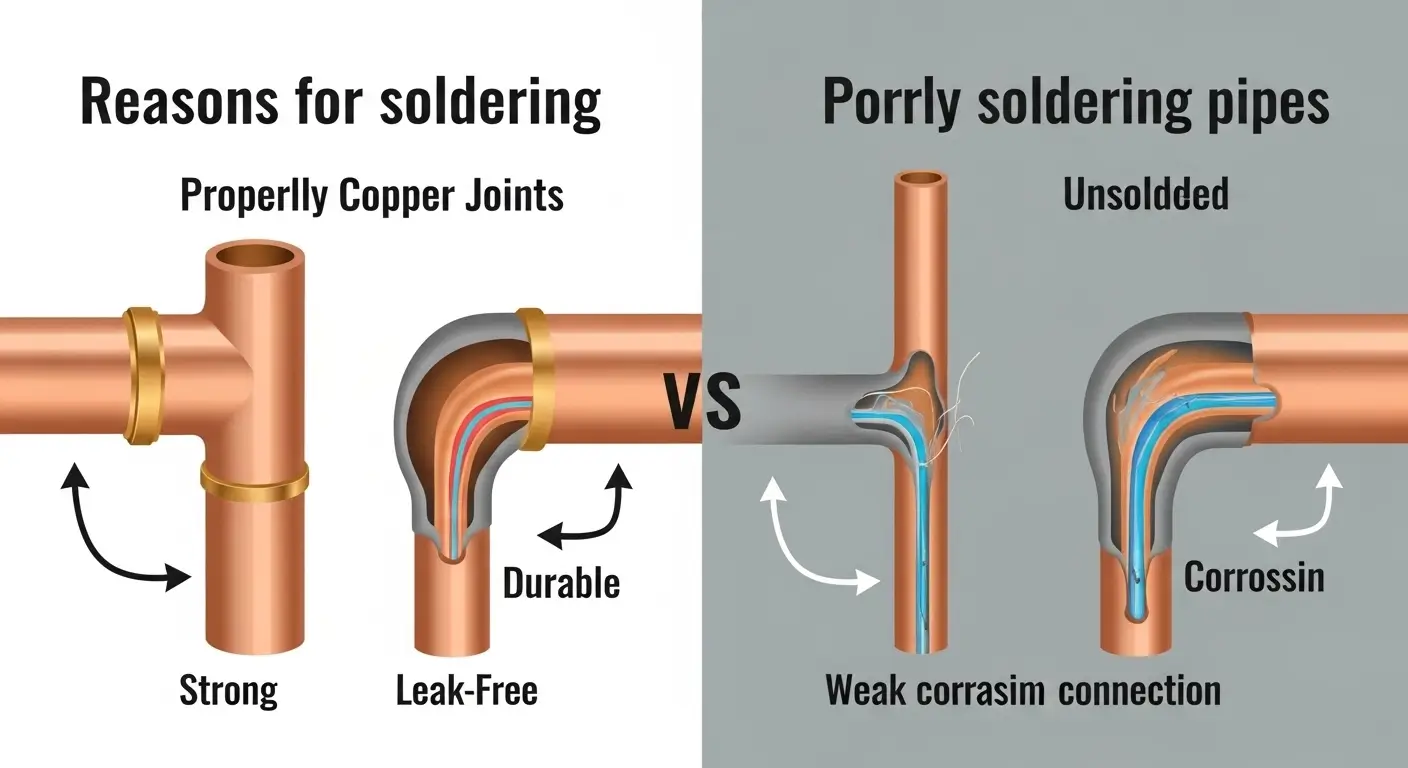
Why Solder Copper Pipes?

While there are alternatives like ProPress and SharkBite fittings (or push-to-connect fittings) that offer quick connections without heat, traditional soldering provides a highly durable and cost-effective solution, especially for permanent installations. It’s a time-tested method for creating strong, reliable connections in residential plumbing.
Tools & Materials You’ll Need for Copper Pipe Soldering
Before starting your DIY copper pipe repair project, gather these essential plumbing tools:
- Propane torch (or MAPP gas torch for faster heating and larger pipes)
- Lead-free solder (specifically for potable water systems, complying with plumbing codes. Avoid lead-based solder for drinking water pipes!)
- Pipe cutter & deburring tool (or pipe reamer)
- Emery cloth or fine-grit sandpaper (for thorough cleaning)
- Flux & flux brush (an acid-based flux is typically used for plumbing to prevent oxidation and promote proper solder flow through capillary action)
- Heat-resistant shield or flame protector (to protect nearby walls and flammable materials)
- Safety gear (heat-resistant gloves, safety glasses)
- Clean rags (for wiping excess flux and cooling joints)
- Wire brush (optional, for aggressive cleaning of pipe ends)
Step-by-Step Guide to Soldering Copper Pipes
1 Cut the Pipe Cleanly and Deburr
- Use a pipe cutter for a straight, burr-free cut. A clean cut is essential for a proper fit into the copper fittings.
- Remove rough edges and burrs from both the inside and outside of the pipe with a deburring tool or pipe reamer. This ensures a snug fit and prevents sediment buildup.
2 Clean the Pipe & Fitting Thoroughly
- This is arguably the most critical step. Scrub the pipe end and the interior of the copper fitting (e.g., an elbow or tee) with emery cloth or a wire brush until the copper is shiny and free of any oxidation or dirt.
- Dirty or oxidized copper won’t hold solder properly! The solder needs clean metal to bond effectively.
3 Apply Flux Evenly
- Use a flux brush to coat a thin, even layer of flux on the cleaned pipe end and the interior of the fitting.
- Flux cleans the metal further and helps the solder flow smoothly into the joint via capillary action when heated.
4 Assemble the Joint
- Insert the flux-coated pipe into the fitting. Give it a slight twist to distribute the flux evenly across the mating surfaces.
- Wipe off any excess flux from the exterior of the joint with a clean rag to prevent corrosion and a messy appearance.
5 Heat the Joint Evenly
- Ignite your propane torch or MAPP gas torch. Apply the flame to the fitting (the larger mass) in a circular motion, evenly heating the entire circumference of the joint.
- Avoid overheating one spot. The goal is to bring the copper to the correct solder temperature.
- Periodically touch the lead-free solder wire to the joint, opposite the flame. When the solder melts readily upon contact with the heated copper, it’s hot enough.
6 Apply Solder
- Remove the flame and immediately touch the solder to the joint. The molten solder will be drawn into the joint by capillary action, forming a bright, silver ring around the edge.
- Feed enough solder to create a complete ring. A proper joint will have a visible fillet of solder.
- Do not overheat—excessive heat can burn off the flux, weaken the joint, and make the solder difficult to flow.
7 Let It Cool & Inspect
- Allow the soldered joint to cool naturally without disturbing it. Cooling too quickly can weaken the bond.
- Once cool, you can gently wipe away any flux residue with a damp cloth.
- Thoroughly inspect the joint for a complete, uniform silver ring.
- Finally, check for leaks by running water through the pipe. If a leak occurs, the joint will need to be reheated, the old solder removed, and the process repeated.
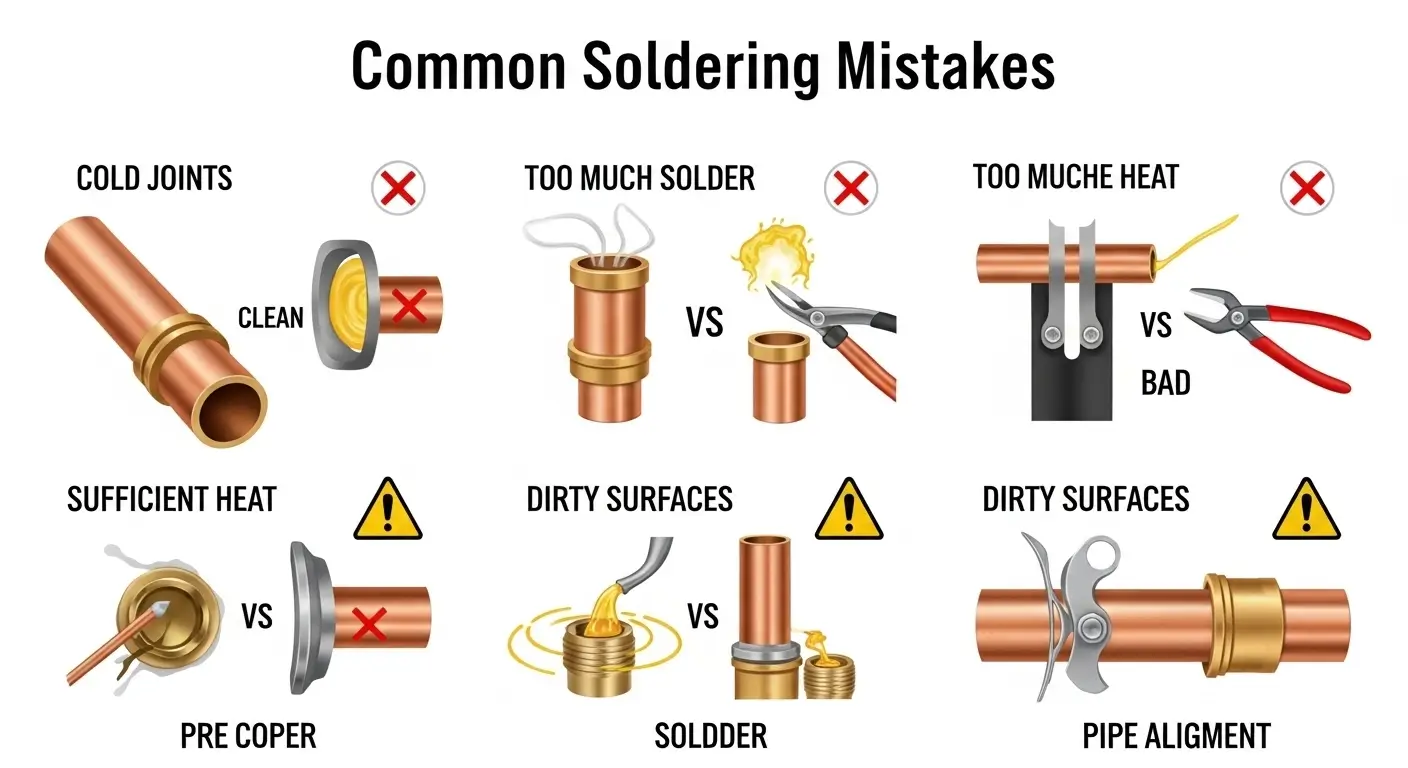
Common Soldering Mistakes to Avoid (and Troubleshooting Tips)

- Skipping cleaning → Weak joints: Always ensure surfaces are shiny. If solder won’t stick, dirty pipe is often the culprit.
- Overheating the pipe → Damaged flux & poor adhesion: If flux turns black or bubbly before solder melts, you’re overheating. Reduce heat or move the torch more.
- Using too much solder → Clogged pipes & messy joints: Only feed enough solder for a complete ring. Excess solder is wasteful and can restrict water flow, especially in smaller copper pipe sizes.
- Ignoring safety → Fire risk: Always use a heat shield and have a fire extinguisher nearby. Work in a well-ventilated area.
- Not enough heat → Solder won’t flow: If the solder just balls up or doesn’t get drawn in, the pipe isn’t hot enough.
- Uneven heating → Incomplete joint: Move the torch around the entire fitting to ensure uniform temperature.
When to Call a Professional Plumber
While DIY soldering works for small repairs and single joint connections, complex jobs and critical plumbing installations require a pro:
- Whole-house repiping or extensive pipe replacement.
- High-pressure systems or commercial applications.
- Gas line connections (these always require a licensed plumber for safety and code compliance).
- If you’re dealing with different types of copper pipe connections beyond standard soldering.
Our licensed plumbers at 907 Heating and Plumbing ensure perfect, leak-free joints every time, adhering to all local plumbing codes.
FAQ: Soldering Copper Pipes
Q: Can I use regular solder for drinking water pipes?
A: No! Only lead-free solder is safe and legally required for potable water systems. Using lead-based solder can contaminate your water.
Q: Why won’t my solder stick to the copper pipe?
A: The most common reasons are the pipe being dirty (not properly cleaned), not heated enough, or the flux not being applied properly. Re-clean, re-flux, and re-heat carefully.
Q: How long should I wait before turning water back on after soldering?
A: Wait at least 5-10 minutes to ensure a solid bond and allow the joint to cool completely. For larger pipes or if you’re unsure, waiting a bit longer is always safer.
Q: What is “sweating a pipe”?
A: “Sweating a pipe” is another common term for soldering copper pipes in plumbing. It refers to the process of heating the joint until the solder “sweats” (melts and flows) into the connection.
Conclusion
Mastering the art of soldering copper pipes is a valuable skill for any homeowner. By following this step-by-step guide and understanding the key principles, you can achieve durable, leak-proof copper pipe joints. Remember to prioritize safety and never hesitate to call a professional for larger or more complex plumbing repairs.
Contact Our Plumbing Experts
