How to Fix a Running Toilet: Complete Guide
A running toilet is more than just an irritating noise in your home; it’s a significant drain on your water resources and, consequently, your utility bill. Every day, a continuously running toilet can waste hundreds of gallons of water, leading to unnecessary expenses and potential water damage.
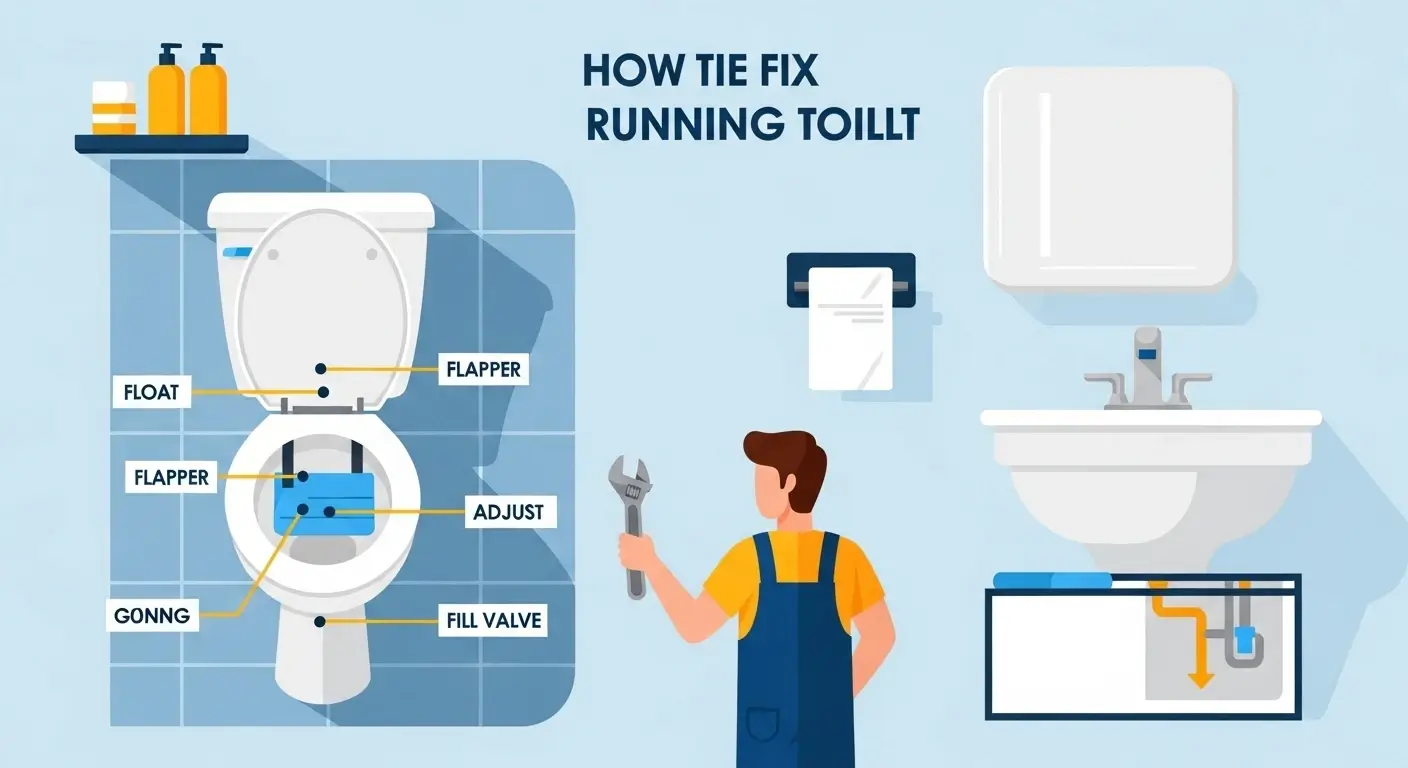
At 907 Heating & Plumbing, we understand the frustration this issue causes. We’ve assisted countless homeowners in Anchorage and surrounding areas in quickly diagnosing and resolving these common plumbing problems. This comprehensive guide will walk you through the essential step-by-step process to stop a running toilet, helping you identify whether it’s a simple DIY fix or when it’s time to call a professional plumber.
Why Is My Toilet Running? Understanding the Common Causes
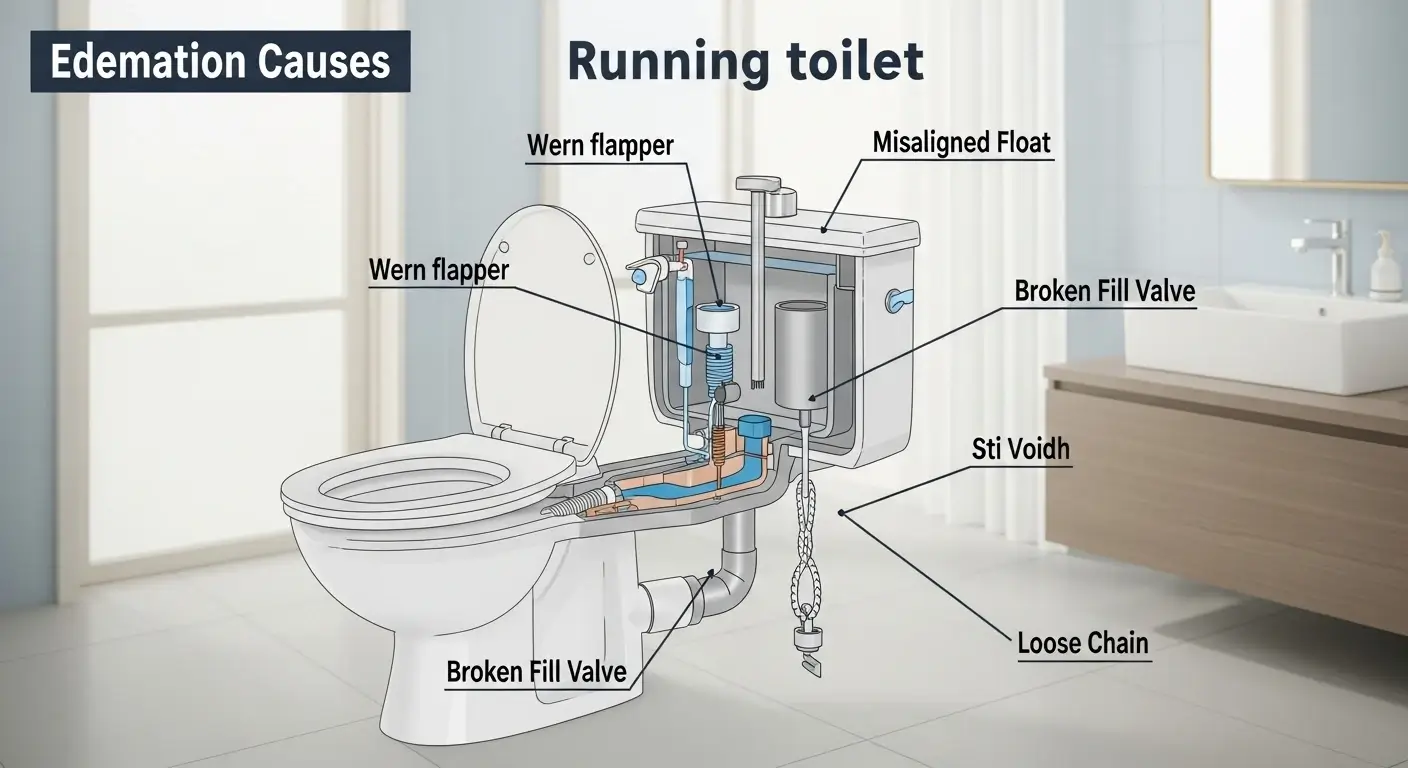
Before you can fix a running toilet, it’s crucial to understand why it’s happening. Most running toilet issues stem from one of a few common culprits within the toilet tank mechanism. Identifying the root cause is the first step towards an effective repair.
Here are the primary reasons your toilet might be running:
- Faulty Toilet Flapper Valve: Often, the most common cause. A worn-out, cracked, or misaligned flapper valve (also known as a tank ball or seal) fails to create a proper seal at the bottom of the toilet tank. This allows water to continuously leak into the toilet bowl, causing the fill valve to periodically refill the tank.
- Float Set Too High or Misaligned: The toilet float (whether it’s a ball-and-arm float or a cup-style float) is designed to signal the fill valve to shut off the water once the tank reaches the correct water level. If the float is set too high, or if it gets stuck, it can prevent the fill valve from turning off, leading to water constantly flowing into the overflow tube.
- Malfunctioning Fill Valve (Ballcock): The fill valve (sometimes called a ballcock valve in older models) controls the flow of water into the toilet tank. If this valve is damaged, clogged with mineral deposits, or simply worn out, it may fail to properly shut off the water flow, even when the float is at the correct level.
- Chain Length Issues: The flapper chain connects the flush lever to the flapper. If this chain is too tight, it can prevent the flapper from sealing completely. If it’s too loose, it may not lift the flapper high enough for a full flush, or it can get tangled, preventing a proper seal.
- High Water Pressure: While less common, excessively high water pressure in your home’s plumbing system can sometimes overwhelm the toilet’s internal mechanisms, leading to constant running. This often requires professional assessment.
How to Stop a Running Toilet: Step-by-Step DIY Fixes
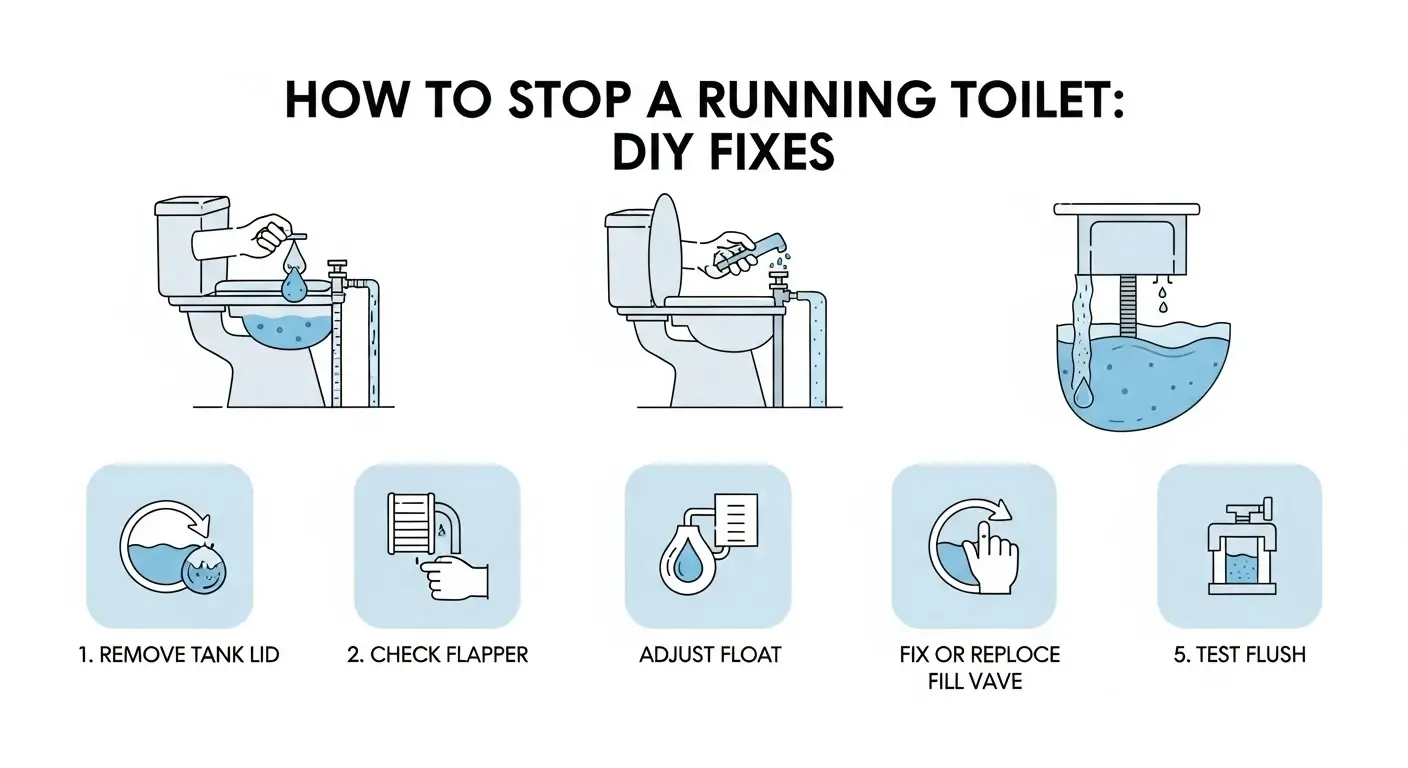
Most running toilet problems can be resolved with a few simple tools and a bit of patience. Follow these steps to diagnose and fix the issue yourself:
Step 1: Check the Flapper Valve for Leaks or Damage
The flapper is often the first component to fail.
- Turn Off the Water Supply: Locate the water supply valve on the wall or floor near the base of the toilet and turn it clockwise until the water flow stops.
- Flush the Toilet: Flush the toilet to drain the water from the tank, allowing you to clearly see the flapper.
- Inspect the Flapper: Carefully examine the rubber flapper for any signs of wear, cracks, deterioration, or mineral buildup (like lime or rust). Pay attention to the seal around the drain hole.
- Clean or Replace: If the flapper is dirty, try cleaning it thoroughly. If it’s visibly damaged or doesn’t seal properly, it needs replacement. Universal toilet flappers are widely available and affordable at most hardware stores. Ensure you get the correct size for your toilet.
Step 2: Adjust the Toilet Float
The float controls the water level in the tank. If the water level is too high and constantly spilling into the overflow tube, adjust the float.
- For Ball-and-Arm Floats: Gently bend the metal or plastic arm connecting the ball float to the fill valve downwards. This will lower the water level.
- For Cup-Style Floats (Attached to the Fill Valve Column): Locate the adjustment screw or clip on the side of the fill valve column. Press the clip or turn the screw to slide the cup float down, lowering the water level. The water level should typically be about an inch below the top of the overflow tube.
Step 3: Inspect the Fill Valve (Ballcock Assembly)
If adjusting the float doesn’t stop the running, the fill valve itself might be the problem.
- Listen for Hissing: With the water supply on, listen closely to the fill valve. A constant hissing sound even after the tank has filled indicates water is still flowing.
- Check for Obstructions: Sometimes, small debris can get caught in the fill valve, preventing it from shutting off properly.
- Consider Replacement: Older ballcock fill valves are prone to wear and tear. If the fill valve is old, constantly running, or doesn’t respond to float adjustments, replacing it with a modern, more efficient model like a Fluidmaster fill valve is often the best solution. This is a slightly more involved DIY task, but many tutorials are available.
Step 4: Check the Flapper Chain Length
The chain needs to be just right – not too tight, not too loose.
- Proper Slack: The flapper chain connecting the flush lever to the flapper should have just a little bit of slack (about 1/2 to 1 inch).
- Adjust as Needed:
- If the chain is too tight, it can prevent the flapper from fully seating and sealing the tank drain. Adjust it to add a little slack.
- If the chain is too loose, it may get caught under the flapper or not lift the flapper sufficiently for a complete flush. Shorten it by attaching it to a higher link or removing a link.
Step 5: Test for Silent Leaks (Dye Test)
Sometimes, a leak isn’t obvious. This test helps identify slow, “silent” leaks.
- Add Food Coloring: Remove the toilet tank lid and add a few drops of food coloring (dark colors like blue or green work best) to the water in the toilet tank. Do NOT flush the toilet.
- Wait and Observe: Wait for at least 15-30 minutes, or even a few hours.
- Check the Bowl: If the color appears in the toilet bowl without flushing, it confirms a leak, most likely from a faulty flapper seal or a crack in the flush valve.
When to Call a Professional Plumber
While many running toilet issues can be fixed with DIY efforts, some problems are more complex and require the expertise of a licensed plumber. Don’t hesitate to contact 907 Heating & Plumbing if:
- You’ve tried all the above fixes, and your toilet continues to run.
- You suspect a more serious issue, such as:
- A cracked toilet tank or toilet bowl.
- A deeply faulty flush valve seal that’s difficult to access or replace.
- Persistent high water pressure problems affecting your entire plumbing system.
- You hear water running behind walls, indicating a potential pipe leak.
- You’re uncomfortable performing the repairs yourself or lack the necessary tools.
Our licensed and experienced plumbers at 907 Heating & Plumbing can efficiently diagnose and repair any toilet issue, ensuring your plumbing system functions correctly and saves you money on water bills. Contact us today for fast, reliable service in the Anchorage area.
FAQs About Running Toilets
Q1: How much water does a running toilet waste?
A: A continuously running toilet can waste an astonishing amount of water, often 200 gallons or more per day. Over a month, this can translate to thousands of gallons, significantly increasing your water bill and contributing to water waste.
Q2: Can a running toilet cause damage to my home?
A: Yes, beyond the increased water bill, a constant running toilet can lead to several problems:
- Higher utility bills: Direct financial impact from wasted water.
- Water damage: Constant moisture can lead to issues with your bathroom floor, subfloor, or even the ceiling below if the leak is severe.
- Mold and mildew growth: Persistent dampness creates an ideal environment for mold, which can cause health issues and structural damage.
- Wear and tear on plumbing components: The constant flow can prematurely wear out other parts of your toilet and plumbing system.
Q3: Should I replace my entire toilet if it keeps running?
A: Not necessarily. In most cases, a running toilet can be effectively fixed by replacing specific internal components like the flapper valve, fill valve, or adjusting the toilet float. Toilet replacement is typically only needed if the toilet bowl or tank itself is cracked, or if the internal components are obsolete and difficult to find, or if you’re upgrading for efficiency or aesthetics. A professional plumber can advise on the most cost-effective solution.
Final Thoughts
Addressing a running toilet promptly is essential for water conservation and managing your household expenses. While many running toilet problems are straightforward DIY tasks, remember that 907 Heating & Plumbing is always here to help if the problem persists or if you prefer professional assistance. Our dedicated team is committed to ensuring your toilet works efficiently and your plumbing system is in top condition.
Need professional assistance?
Schedule a service with our plumbing experts todayLet us take care of your plumbing needs!

