How to Test a Solenoid Valve: A Comprehensive Step-by-Step Guide for DIYers and Professionals
Is your washing machine refusing to fill, your sprinkler system stuck, or your furnace acting up? A malfunctioning solenoid might be the hidden culprit.
Solenoids are vital electromechanical components found in countless systems, controlling the flow of liquids or gases. Before you jump to costly replacements, learning how to test a solenoid valve is a crucial troubleshooting skill that can save you time and money.

This comprehensive guide will walk you through the process of testing a solenoid safely and effectively, whether you’re a seasoned DIY enthusiast or a professional technician. We’ll cover everything from understanding solenoid basics to advanced troubleshooting tips.
What is a Solenoid and How Does It Function?
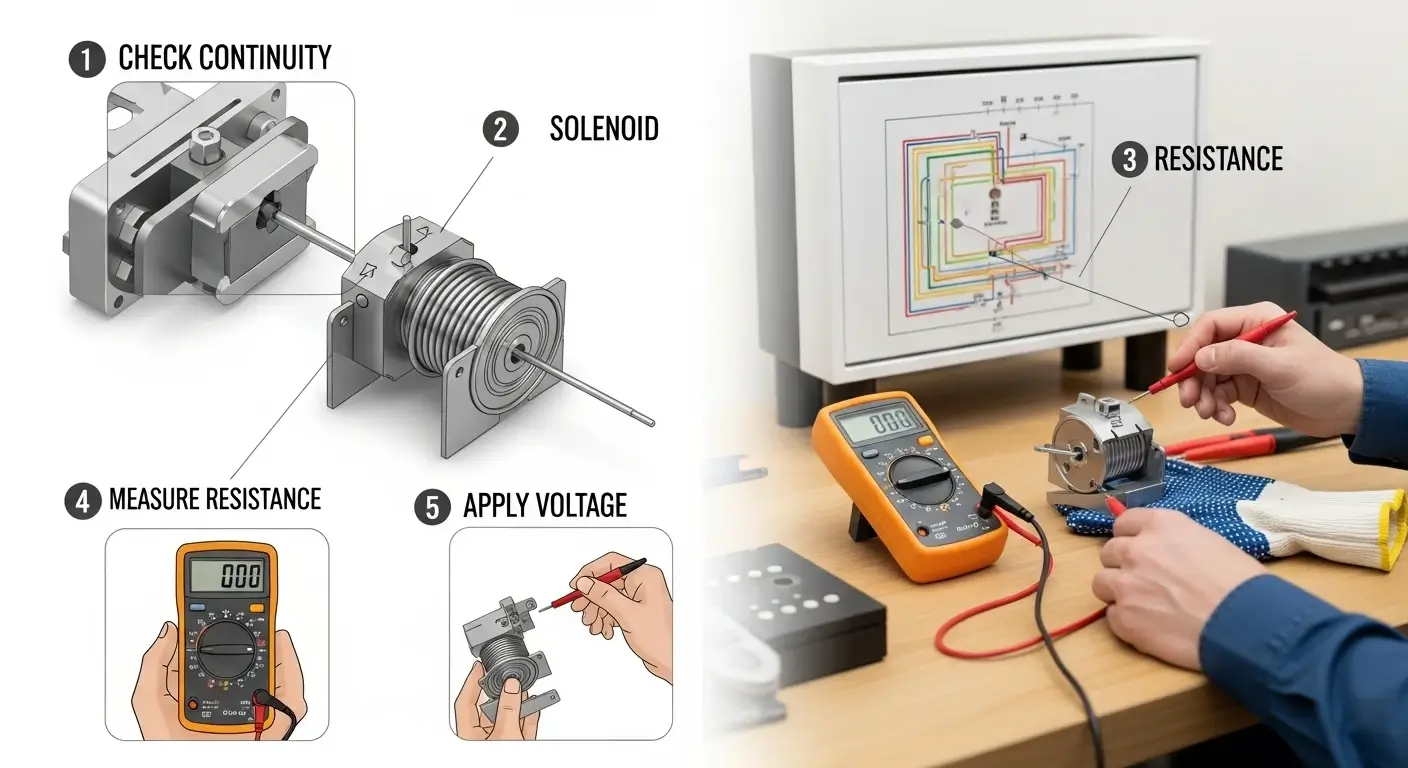
A solenoid is an electromechanical device that converts electrical energy into linear mechanical motion. At its core, it consists of a coil of wire (the electromagnet) wrapped around a movable plunger (or armature).
When an electric current flows through the coil, it generates a magnetic field. This magnetic field pulls or pushes the plunger, which in turn opens or closes a valve, activates a switch, or performs another mechanical action. This simple yet effective mechanism makes solenoids indispensable in:
Common Applications:
Understanding this basic function is key to effective solenoid troubleshooting.
Common Signs of a Faulty Solenoid
Before you even begin testing, observing these common symptoms can point towards a potentially bad solenoid:
No Response
The solenoid does nothing when it should activate
Weak Operation
Valve may only partially open or close
Buzzing Noise
Humming without movement indicates stuck plunger
Burnt Smell
Overheating can cause coil damage
How to Test a Solenoid: Step-by-Step Methods
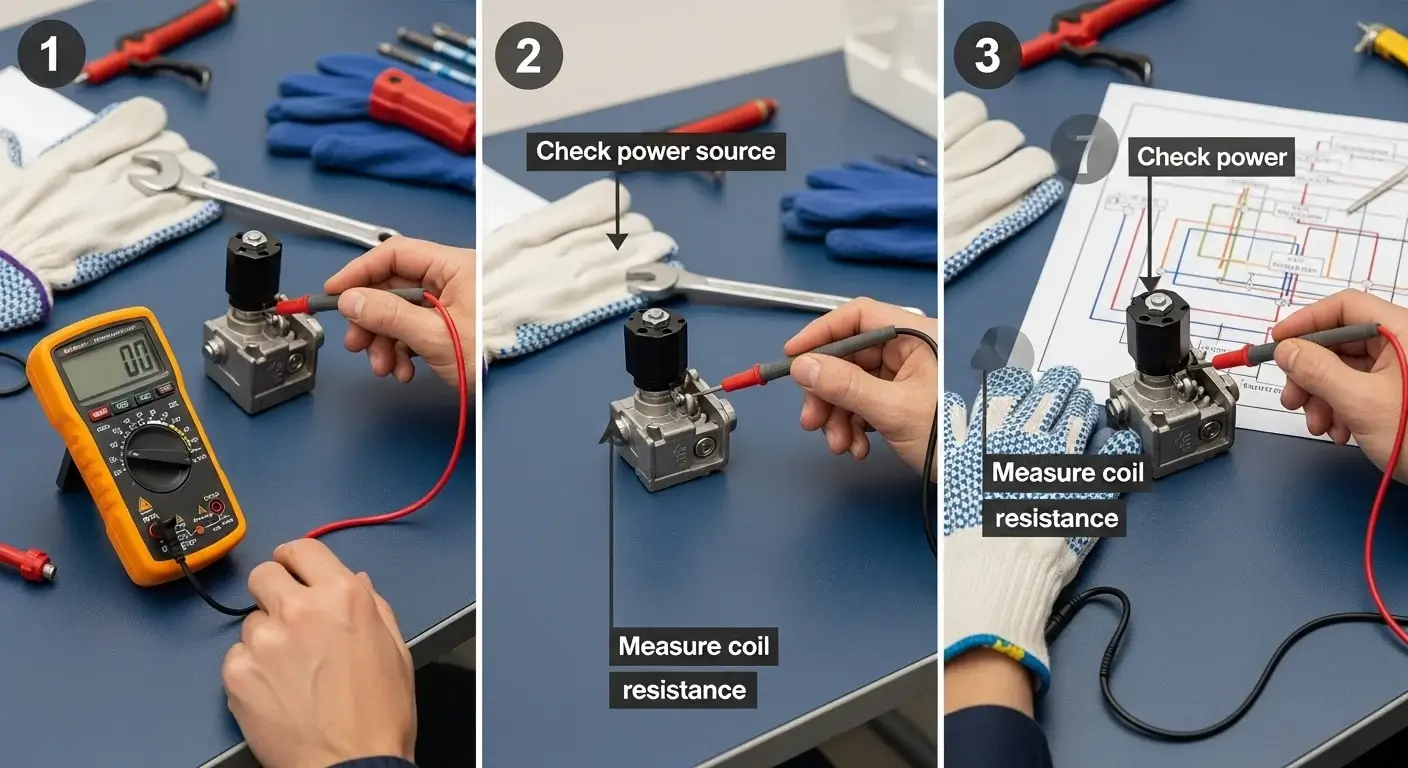
Testing a solenoid typically involves checking its electrical properties and its mechanical function. Always prioritize safety!

Tools You’ll Need:
- Multimeter
- Screwdriver set
- Battery (optional)
- Jumper wires
- Safety gloves & goggles
- Manufacturer specifications
When Should You Call a Professional for Solenoid Issues?
While testing a solenoid can often be a straightforward DIY task, there are situations where professional assistance is highly recommended:
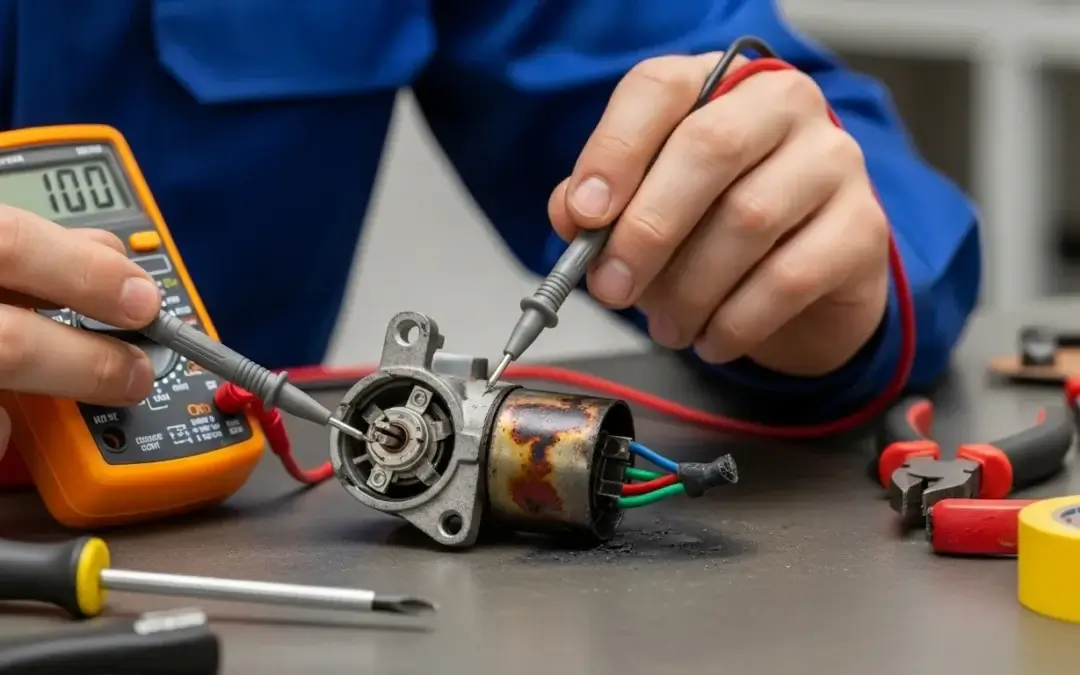
- Visible signs of burning or physical damage: If the solenoid looks burnt or physically broken, it’s best to have a professional handle the replacement, as underlying electrical issues might be present.
- System still malfunctions after solenoid replacement: If you’ve replaced the solenoid, but the problem persists, it indicates a deeper issue within the system’s electrical wiring, control board, or other components.
- Dealing with high-pressure or complex plumbing/HVAC systems: Working with gas lines, high-voltage electrical connections, or pressurized water systems can be dangerous.
- Lack of confidence or experience: If you’re unsure about any step or uncomfortable working with electrical components, it’s always safer to consult a certified technician.
Frequently Asked Questions (FAQs) About Solenoid Testing
1. Can a solenoid work intermittently?
Yes, absolutely. A failing solenoid, particularly one with a weak coil or minor mechanical obstruction, may work occasionally before failing completely. It’s crucial to test it multiple times for consistency if you suspect intermittent operation.
2. What commonly causes a solenoid to fail?
Several factors can lead to solenoid failure:
- Electrical surges: Can damage the coil windings.
- Dirt or debris: Can clog the valve mechanism, preventing the plunger from moving freely.
- Corrosion: Especially common in water-exposed solenoids (e.g., sprinkler valves), leading to electrical or mechanical issues.
- Worn-out coils: With repeated use, the coil windings can degrade and develop shorts or open circuits.
- Overheating: Continuous operation or improper voltage can cause the coil to overheat and burn out.
3. How much does solenoid replacement typically cost?
The cost of solenoid replacement varies widely depending on the type of system, the complexity of the job, and whether you’re doing it yourself or hiring a professional.
- Parts: A solenoid itself can range from $20 for a simple appliance solenoid to $150+ for a complex automotive or industrial solenoid valve.
- Labor: If you hire a professional, expect to pay for labor, which can add $50 to $200 or more, depending on the technician’s hourly rate and the job’s duration. Overall, for professional replacement, expect a range of $50–$300, but complex systems (like entire HVAC units or car transmissions) could be significantly more.
4. What are the typical resistance values for different types of solenoids?
While it’s best to consult the manufacturer’s specifications, here are some general ranges:
- Automotive Starter Solenoids: Often very low, around 0.2 to 0.8 ohms.
- Sprinkler Valve Solenoids: Typically in the range of 20 to 50 ohms.
- HVAC Solenoids (gas valves, refrigerant valves): Can vary, but often fall between 10 to 100 ohms.
- Appliance Solenoids (water inlet valves): Usually in the 20 to 60 ohms range.
Always prioritize the manufacturer’s specified resistance for accurate testing.
Final Thoughts on Solenoid Testing
Testing a solenoid is a valuable diagnostic skill that empowers you to pinpoint common appliance and system issues. By following these step-by-step methods and understanding the tell-tale signs of failure, you can confidently determine whether a solenoid is functioning correctly or if it’s time for a replacement.
If you find yourself in doubt, or if the problem persists, remember that 907 Heating and Plumbing is always here to provide expert diagnostics and reliable repairs. Don’t let a faulty solenoid disrupt your comfort or routine.

